Hey there, DIY enthusiasts! Have you ever found yourself staring at those pesky small holes in your drywall, wondering how on earth you’re going to fix them? Well, fear not! In this article, we’re going to dive into the wonderful world of drywall repair and show you exactly how to tackle those tiny blemishes like a pro. So grab your tools, put on your DIY hat, and let’s get started on learning how to repair small holes in drywall.
Now, we all know that accidents happen, and sometimes we end up with small holes in our drywall. Whether it’s from a misplaced nail, a doorknob mishap, or just general wear and tear, these little imperfections can be quite unsightly. But don’t worry, because with a little bit of know-how and the right techniques, you can easily fix them up and make your walls look as good as new. So, if you’re ready to roll up your sleeves and tackle this DIY project, keep reading to discover the secrets of repairing small holes in drywall.
How to Repair Small Holes in Drywall?
If you’re wondering how to repair small holes in drywall, follow these simple steps:
- Prepare the hole by cleaning it and removing any loose debris.
- Apply spackling compound to the hole, using a putty knife to smooth it out.
- Allow the compound to dry completely, then sand it down until it’s smooth.
- Apply a second coat of compound if necessary, repeating the drying and sanding process.
- Once the surface is smooth, prime the area and paint to match the surrounding wall.
With these easy steps, you can quickly repair small holes in your drywall and restore the appearance of your walls.
How to Repair Small Holes in Drywall?
Drywall is a common building material used in many homes and buildings. It is durable and provides a smooth surface for painting or wallpapering. However, over time, small holes can occur in the drywall due to accidents or wear and tear. Repairing these small holes is a relatively simple process that can be done by homeowners without professional help. In this article, we will discuss step-by-step instructions on how to repair small holes in drywall.
1. Assess the Size of the Hole
Before you begin the repair process, it is important to assess the size of the hole in the drywall. Small holes, such as nail holes or screw holes, can be easily repaired using a few simple tools and materials. Larger holes, on the other hand, may require more extensive repairs. Once you have determined the size of the hole, you can proceed with the appropriate repair method.
To repair small holes in drywall, you will need the following materials: a putty knife, spackling compound, sandpaper, and paint that matches the color of your wall. These materials are readily available at most hardware stores and can be purchased at an affordable price.
1.1 Nail Holes
Nail holes are one of the most common types of small holes in drywall. To repair a nail hole, start by using a putty knife to remove any loose or damaged drywall around the hole. Next, apply a small amount of spackling compound to the hole using the putty knife. Smooth out the compound using the blade of the putty knife, and allow it to dry. Once the compound is dry, use sandpaper to smooth out the surface, and then apply a coat of paint to match the color of your wall.
1.2 Screw Holes
Screw holes are another common type of small hole in drywall. To repair a screw hole, follow the same steps as repairing a nail hole. Use a putty knife to remove any loose or damaged drywall around the hole, and then apply spackling compound to the hole. Smooth out the compound, allow it to dry, and then sand and paint as needed.
2. Patching Larger Holes
If you have a larger hole in your drywall, such as a hole caused by a doorknob or a larger accident, you will need to use a different method to repair it. For larger holes, you will need a drywall patch, joint compound, a putty knife, sandpaper, and paint that matches the color of your wall.
2.1 Prepare the Drywall Patch
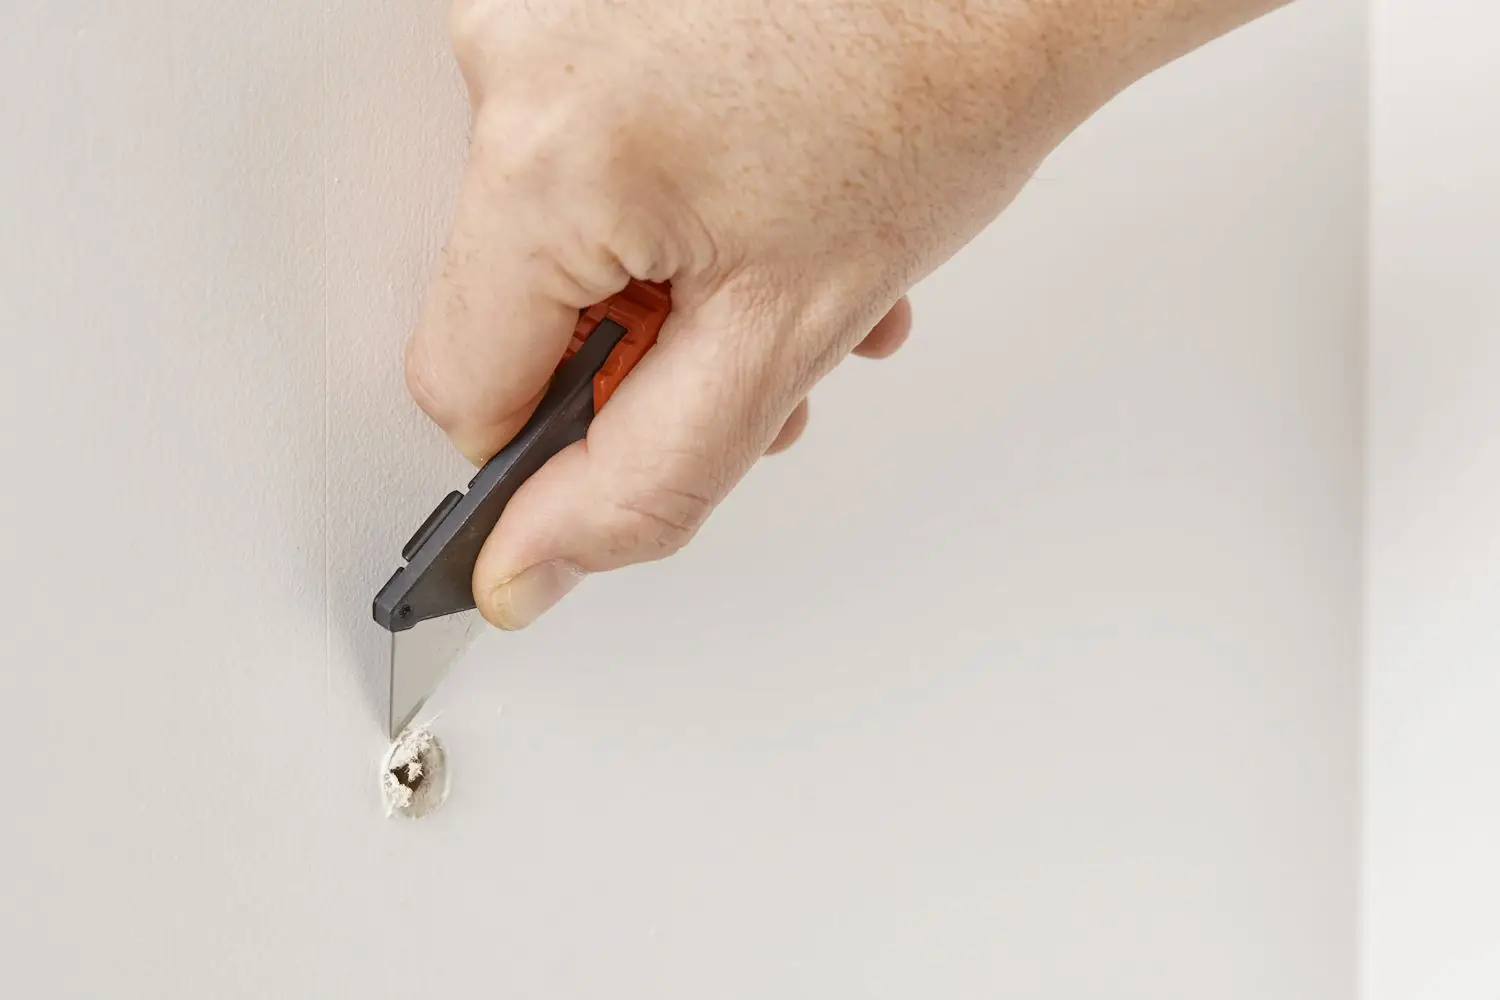
To repair a larger hole in drywall, start by preparing the drywall patch. Measure and cut a piece of drywall slightly larger than the hole. Place the patch over the hole and trace around it with a pencil. Use a utility knife to carefully cut along the traced line, removing the damaged drywall.
2.2 Attach the Drywall Patch
Once you have prepared the patch, attach it to the hole using joint compound. Apply a thin layer of joint compound to the edges of the hole, and then press the patch into place. Smooth out any excess compound using a putty knife, and allow it to dry. Once the compound is dry, sand the surface until it is smooth, and then apply a coat of paint to match the color of your wall.
3. Tips for a Successful Repair
– Before starting any repair, it is important to clean the area around the hole to remove any dust or debris. This will ensure that the patch adheres properly to the wall.
– When applying spackling compound or joint compound, apply it in thin layers and allow each layer to dry before applying the next. This will help to create a smooth and seamless repair.
– Sand the patched area between each layer of compound to create a smooth surface. Be sure to use fine-grit sandpaper to avoid damaging the surrounding wall.
– When painting the repaired area, be sure to use the same type of paint that is on the rest of the wall. This will help to ensure a seamless and professional-looking repair.
In conclusion, repairing small holes in drywall is a relatively simple process that can be done by homeowners with basic tools and materials. By following the step-by-step instructions outlined in this article, you can easily repair small holes in drywall and restore the appearance of your walls. Whether you are dealing with nail holes, screw holes, or larger holes, the key is to take your time and follow the proper techniques to achieve a successful repair.
Key Takeaways: How to Repair Small Holes in Drywall
- Use a putty knife to remove any loose debris from the hole.
- Apply a patching compound to fill the hole, smoothing it with the putty knife.
- Let the compound dry completely before sanding it down for a smooth finish.
- Prime the patched area before applying a coat of paint to match the surrounding wall.
- Clean up any tools or materials used and admire your repaired drywall!
Frequently Asked Questions
Are you wondering how to repair small holes in drywall? Look no further! We’ve got you covered with some helpful tips and tricks. Read on to learn more:
1. How do I prepare the hole in the drywall for repair?
Before you begin repairing the small hole in your drywall, it’s important to prepare the area properly. Start by removing any loose debris or old drywall compound from the hole. Use a utility knife to cut away any loose edges around the hole. This will create a clean and even surface for the repair.
Next, gently sand the edges of the hole to smooth them out. Be sure to wipe away any dust or residue with a damp cloth. This will help the repair material adhere better to the drywall.
2. What materials do I need to repair small holes in drywall?
Repairing small holes in drywall is a relatively simple task that requires just a few basic materials. You’ll need some drywall compound, also known as joint compound, which is available at most hardware stores. Additionally, you’ll need a putty knife, sandpaper, a utility knife, and a damp cloth.
If the hole is larger than a quarter, you may also need a piece of drywall to patch the area. Make sure to measure the size of the hole before purchasing the patching material.
3. How do I fill the small hole in the drywall with compound?
Once you have prepared the hole and gathered the necessary materials, it’s time to fill the hole with drywall compound. Start by applying a thin layer of compound around the edges of the hole using a putty knife. This will help the patch adhere to the surrounding drywall.
Next, apply a slightly thicker layer of compound over the hole, using the putty knife to smooth it out evenly. Make sure to feather the edges of the compound to blend it seamlessly with the surrounding wall. Allow the compound to dry completely according to the manufacturer’s instructions.
4. How do I sand and finish the repaired area?
After the drywall compound has dried, it’s time to sand and finish the repaired area. Start by using sandpaper to gently smooth out any rough edges or imperfections in the compound. Be careful not to sand too aggressively, as this can damage the surrounding drywall.
Once the repaired area is smooth, wipe away any dust with a damp cloth. If necessary, apply a second coat of drywall compound to ensure a seamless finish. After the second coat has dried, sand and finish the area again until it is smooth and blended with the rest of the wall.
5. How do I paint over the repaired area?
Once the repaired area is smooth and finished, you can paint over it to match the rest of the wall. Start by applying a coat of primer to the repaired area, using a brush or roller. This will help the paint adhere properly and ensure an even finish.
After the primer has dried, apply your chosen paint color to the repaired area, using a brush or roller. Make sure to feather the paint outwards from the repaired area to blend it with the rest of the wall. Allow the paint to dry completely, and if necessary, apply a second coat for a seamless finish.
Final Summary: Repairing Small Holes in Drywall
So there you have it, a comprehensive guide on how to repair small holes in drywall. It may seem like a daunting task at first, but with the right tools and techniques, you’ll be able to patch up those unsightly blemishes in no time. Remember, practice makes perfect, so don’t be discouraged if your first attempt isn’t flawless. With each repair, you’ll gain confidence and improve your skills.
In conclusion, the key to a successful drywall repair is preparation. Make sure to gather all the necessary materials and take the time to clean and prep the area before applying any patches. Take advantage of the wide range of repair products available, such as spackle or self-adhesive patches, to suit your specific needs. And don’t forget to sand, prime, and paint the area once the patch is dry for a seamless finish. By following these steps and incorporating some creativity, you’ll be able to restore your walls to their former glory and impress everyone with your handy skills. So roll up your sleeves, grab your tools, and let’s get patching!
